


ZOROTOTO: Media Digital Terbaik Yang Mempunya Link Alternatif Mudah Di Akses Dimanapun


ZOROTOTO: Media Digital Terbaik Yang Mempunya Link Alternatif Mudah Di Akses Dimanapun
$99.00 SGD
Unit price peror

Keamanan Di ZOROTOTO!

PENCET DISINI BOS Q
Get it fast
Pickup
Loading store
Error loading
Limited Time Promotion
Limited Time Promotion
Apa itu ZOROTOTO ?
Apa itu ZOROTOTO ?
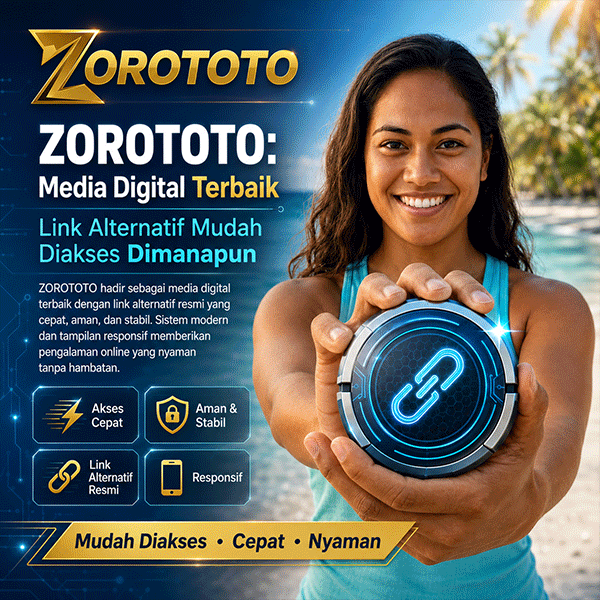
ZOROTOTO hadir sebagai media digital terbaik yang memberikan kemudahan akses bagi para pengguna melalui link alternatif resmi yang cepat, aman, dan stabil. Dengan sistem modern serta tampilan yang responsif, ZOROTOTO menjadi pilihan tepat bagi pengguna yang menginginkan pengalaman online nyaman tanpa hambatan.
Pelajari Selengkapnya
Kenapa harus bermain di ZOROTOTO?
Kenapa harus bermain di ZOROTOTO?
1. Platform Terpercaya untuk Toto Togel Macau 5D
ZOROTOTO adalah platform terpercaya untuk bermain Toto Togel Macau 5D yang menawarkan pengalaman bermain aman dan menyenangkan dengan sistem keamanan terbaik untuk melindungi data member.
2. Prediksi Paling Akurat Setiap Hari
Dengan prediksi paling akurat hari ini, ZOROTOTO menggunakan teknologi canggih dan analisis mendalam untuk memberikan informasi terkini yang membantu Anda membuat keputusan cerdas dalam bermain.
3. Peluang Menang yang Lebih Besar
Dapatkan peluang menang yang lebih besar dengan prediksi kami yang tepat dan terpercaya, memberikan kesempatan optimal untuk meraih kemenangan bersama komunitas ZOROTOTO.
4. Bergabung Mudah dan Cepat
Bergabunglah sekarang melalui proses pendaftaran yang mudah dan cepat, memungkinkan Anda segera memulai perjalanan bermain Toto Togel Macau 5D dengan pengalaman yang menyenangkan.
5. Pengalaman Bermain Aman, Cepat, dan Menyenangkan
Nikmati pengalaman bermain yang aman, cepat, dan menyenangkan di ZOROTOTO, didukung oleh platform yang user-friendly dan layanan customer service yang responsif 24 jam.